Wednesday, 11 June 2014

How to make easy-peasy felt bow clips.

Did you read my late post about the Christmas Bazaar?  Well, I was given some red and green felt and Christmas fabric to make into stockings which I promptly asked, "Just stockings...." and started to list off all the Christmas felt goodies I could make.  So, I got carried away making fully lined, patchwork stockings and then decided that a felt paper chain wouldn't take that long really.  After cutting out all the strips, I got a phone call from from one of the organisers saying- in a nutshell- "that's nice dear but we were only going to charge £1 or £2 each.  I took a deep breath, reigned myself in and sat down trying to figure out what I could do with all these strips.  And so the felt bow clip was born. 

You will need:
Felt
metal hair clips
needle and thread
glue gun or really strong adhesive 

What to do:

1) Take standard felt rectangle and cut into strips about 1 inch wide.
2) Cut off about 1 inch from the end and save piece (this will wrap around the bow).

3) Bring the ends together and slightly overlap.
4) Hold in place and make a stitch through the three layers at one corner.

5) Do a couple of running stitches to the other side.

6) Pull the thread to gather, pinching with your fingers to hold the folds in place.


7) Run a few stitches through the centre folds to how felt in place.

 It's looking good so far!
 8) Take your tiny felt rectangle and cut to the desired width.  (I find that if this is too wide, it can be tricky to glue into place).
 
 9) Make sure your glue gun is nice and hot!  Place a small blob over the messy stitch, press on the end of the band and hold firmly as you tightly wrap the band around the bow.
 10) Another blob of glue to hold down the end and press for a few seconds until set.
 11) Finally, add a generous blob to a shiny clip and hold the bow in place until the glue sets- this really only takes a few seconds.

As I was making these for a Bazaar, I did all the prep and stitching first and then glue gunned the whole darn lot.  These seriously didn't take long to whip up and they ALL went within minutes!


Thursday, 5 June 2014

"The Snow Maiden"

Here is my January project! Gosh, I love holiday blog catch up time.  My sister's sister-in-law (my sister-sister-in-law) was due in January and I was determined to make her a little bundle after she so kindly made me gorgeous bibs for my first.  As she is not your average lady, I thought that she would love a non-pink gift for her little girl.  I adapted a simple cardi from Nikki Trench's book "Cute and Easy Crocheted Baby Clothes" to match this fabulous  free bonnet I found  online (I just can't remember where from...).  The Nordic themed colours were because I had just finished a book called "The Snow Maiden" which describes the old lady's winter efforts to make a coat for the snow maiden child who lives in the woods.  The handmade coat is described as being trimmed with white fur and embroidered  with snow flakes and that just sounded gorgeous.  I did have fun finding and buying tiny star buttons and playing with the borders to balance both items.  Looking at them now, they are so very "Frozen"!

The crochet bibs and balls were from the same book using my beloved dk cotton.  The bibs were part joke as the bibs she made for me were used until faded and worn and then folded away in my memory box.  The bibs made for my sister's first born were always laughed about as my sister couldn't bear to use the lovely things.  I therefore couldn't resist making impractical crochet bibs (they are washable...honest).  Do you think she will use them? I just don't know!  The balls  are so squishy and perfect for gummy chews and squeezy fingers.  I popped a few bells inside the yellow ball using a clean kinder egg case firmly glued shut which I then crocheted inside the stuffed ball.  One shakey, squishy, squeezy bit of fun!  I must say that I'm so relieved to find these lost pictures.  My husband thinks I am mad-naturally- but when you give away most of your crafts, having a picture keeps the memories, the textures and the ideas ready for another day.
Congratulations Cara and Nick and I hope your baby managed to wear these at least once before growing out of them!

Saturday, 31 May 2014

Mummycat Mandala Madness

Are you coming to Yarndale?  Please come along!  It would be so nice this year to know more of the faces and share a cuppa or two chatting about wonderful woolly work! Yes, I am over excited again but I sometimes feel like I live in on a tiny crafty island away from the general population.  So it's kind of like finding my own tribe- The Woolites-and knowing all the ceremonial dances....
Ahem, a bit strange even for me.  Let me get on to the Mandalas.
Lucy at Attic24 has requested Mandalas for a vibrant display after the success of the crochet bunting.  Now, I didn't believe Lucy when she said that these circles were addictive but, of course, she was right.  The changes in stitches and colours means that you never seem to want to stop.  Once I made (and loved) one mandala, I was torn between keeping it or sending on to Lucy as planned.  This prompted the second (now I couldn't choose between them) and a third.  So that's one for Lucy, one for me and one for....Hmm, I haven't made anything for my sisters in a while, on to Mandala number four.
So, now I have the final dilemma.  Which one for which person?  Ok sisters, it's time to put in your requests.  I hope you don't both want the same one and NO saying that any would be lovely, thank you VERY much. X

1


2


3


4

PS The photo above is one of my favourite ones showing big brother on the left, Liz with purple bear next, Jess with the fab fringe and me at the end (why am I wearing a polo neck?).  It's the first family shot where we all pretty much look the same now.  Ok there may be a few differences but that's mainly big brother's hair style...

Wednesday, 28 May 2014

Why Yarndale was the best day ever.

Oh Yarndale, How do I love thee? Let me count the ways...
  1. Crocheting all the way from Kent to Manchester.
  2. First time going away on my own since my first little one came along (almost 8 years ago).
  3. Staying with my sister and the family.
  4. Having a steady stream of cups of tea- it always tastes better from a sister.
5. Making crochet bunting months ahead to send over to the lovely Lucy.
6. Reading all the Attic24 blog posts in anticipation.
7. Not taking any work away with me....okay now I'm just boring myself. 
 Let me just say that I am not a strange, middle aged lady who gets excited about wool.  I am one of many!  I was far too excited, bounced up and down all the way there and caused much annoyance as I screamed at first sight of the bunting.  I just didn't care.  I embarrassed myself as often as possible and indulged every woolly whim.  I did not rush around stalls, I did touch everything, go back to first stalls, chat to everyone and yes, even insisted on a photo with Lucy (poor woman).  I didn't even notice the lovely Heather from tiny tin bird until later as her blog page has only a partial face shot! 

We sat from the opening hours until well after lunch engrossed in learning how to knit tarantula style with six pointy needles.  I loved it so much that I wouldn't leave the table until absolutely desperate for the ladies and when my back started to seize. 


We loved it so much that on returning late that evening, Sis and I continued to knit with a large glass of wine until after 11pm.  I came home feeling at one with woolly urges and realised that I had only bought a Yarndale tote bag for myself.  This was shocking as I had come away ready to spend, spend, spend.  I think that, when every yearning was met, there was no need to even try and buy.  It was the best rest and reconnect with my lovely sister.  So, I don't care that this is 9 months ago.  Look at this and be inspired to come along to Yarndale 2014!  I can't wait and look forward to sharing all the Mandala Madness that's being going on ready for my new Yarndale contribution.

Tuesday, 27 May 2014

"I wish I had time to do crafty stuff."

I am sitting here sifting through the camera again and have finally found some missing pictures!  I wanted to share these because, honestly, I just want to show off and take a moment to remember that work doesn't take over every spare minute.  I am always surprised by how many times I hear the phrase, "Where do you find the time?" or "I wish I had time to do crafty stuff." It does sometimes sound a little critical as if I should feel lucky to have sooo much spare time that I can just pootle around indulging a hobby.  The truth is, as all crafters know,  we all get the same time in a day and I choose being active over sitting for hours watching tv every evening.  I think most crafters are noctural as we seem to come alive during those twilight hours!  A friend of mine who whips up the most amazing dresses, always seems to want to start a  new project around about 9pm!  So this post is to remind me that those stolen hours before bed (and even before the family awakes) mounts up those little projects pretty quickly.
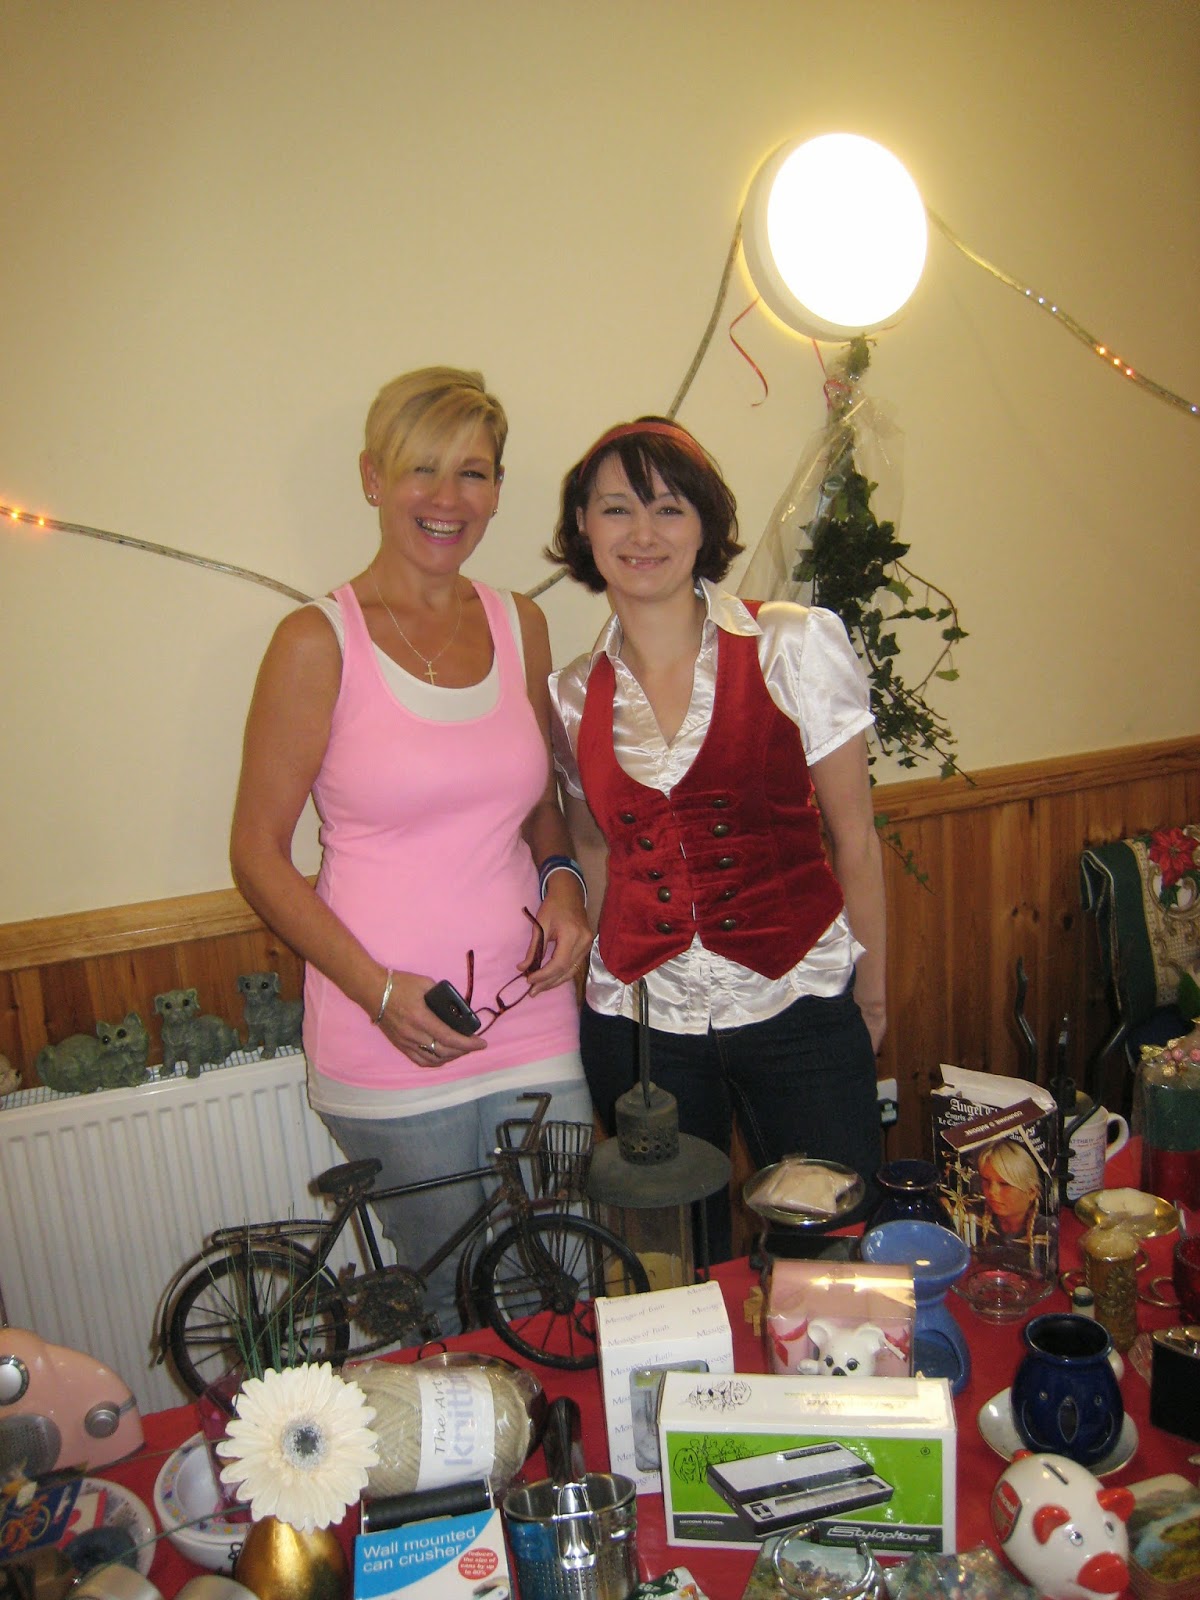
So, did  I tell you about the Christmas Bazaar?  This year, instead of making a ton of Christmas presents, I decided to make a bundle of goodies for the Church Bazaar.  I started whilst on the long train journey to my sister's for our Yarndale experience.  I crocheted mini stockings, felty garlands and stockings, pot holders, felty baubles, sweetie cones and loads of hair clips.  I loved it!  I was given a little parcel of cheap fabric and did a bit of a "Mocholate" with it.  If you know your "Friends" you will know that a  small amount of mocholate (chocolate substitute) was mixed with much nicer ingredients.  So I happily took small amounts of the bundle to mix with my own stash of felts, ribbons and trims (ahem).  As is always the case, the small, quick projects sold out and the pot holders- which took forever- didn't move.  Never mind eh!  The only real downer was I wasn't able to man the stall as at the last moments, the face painting lady didn't show up.  So I sat and painted tigers, butterflies (and even one dad as batman) for the entire day.


Never mind,, as I got  stuck by these two fabby friends who made me laugh the whole time!
I will  post soon on how I made the bow clips as I have now made so many (with two girls- how could I escape it) 

Monday, 21 April 2014

The Granny of a cushion!

IMG_1433
Attic 24 inspiration
What a lovely cushion!  A while ago I came across more Attic 24 inspiration and decided that it was time to add a bit more colour to my house.  After making cushions for my classroom and past class, I decided that I wanted a super colourful splash on my own sofa, darn it.  Isn't Lucy's cushion so full of spring sunshine?

So, last summer I bought loads of lovely Rowan Cotton DK in my favourite colours.  I used some to create a class bunting (which looks beautiful up by the way) and started creating simple granny squares of my own.

After making a variety of colour combinations, I started to stitch the squares together but it just didn't look right.  So, I had a go adding a pale green border like Lucy used, but my more primary colour choices didn't play well together.
I have always loved the old-fashioned black borders in the shawl worn in "Seven Brides for Seven Brothers" and also in the blanket in Amy's apartment in "Big Bang Theory" (yes, I too look out for crochet items on tv shows) and tried this.  LOVED IT!
 And then came the long wait.....
After a term of non-stop work, I finally took time this Easter to finish the cushion.  Some adding of borders and Lucy's clever joining technique for granny squares meant that my lovely cushy cushion is all done!
Ta! Da! Thanks Lucy for the inspiration...

Sunday, 20 April 2014

Birthday Bunny continued


I've been away so long!  It's been embarassing really but I have an excuse, honest... My computer just would not log on and so, whilst I could peek at my own favourite blogs, I couldn't get my own bits and bobs online.
This caused its own problems as I started to stop taking pictures of projects and not quite getting new ones on the go.  But work has produced so many white hairs this term that I have made myself take a break this holiday and craft.  I have really loved doing a few long awaited crafty bits and am determined to make amends for my poor blogging updates.
So, with hubby watching the racing, I am uploading this little gift from my nieces birthday gifts given on my Yarndale visit.  That's how long it has been (bad, bad, bad girl).  By the way- YARNDALE 2014- so excited by that!
This little gift was to go with last years birthday bunny (see earlier post for the free pattern) Along with a paint yourself jewelry box and some clips inspired by Attic 24 circles went the mini crochet cake and bunny party dress.  I didn't write a pattern for the cake as it was just a bit of fun that turned out rather nicely.  It was inspired by an image that I found on Pinterest however.
The dress did get written down so I hope someone uses this one:

You will need: Size 3 hook and wool scraps 
                        Darning needle
                        small ribbon rose
ss=Slip stitch
sc= single crochet
sc in= single crochet increase.
tr= triple

Dress
  1. Ch 23 and ss into loop.
  2. Sc all around and join with a ss.
  3. Ch 1 and sc all around three times (as a spiral)- 23 stitches.
  4. Sc in, 11sc, sc in, ss.
  5. Ch 1, sc all around and ss- 25 stitches.
  6. Ch 3 (counts as first tr), Tr all around and ss into first.
  7. (Ch 2, miss 1 stitch, sc in next) to make scallop edge. Repeat all around.
  8. SS into first ch2 space.  Ch 3 and 2 tr into first space.
  9. Ch 2 to next space- putting 3tr into each chain space.  SS final ch2 into first stitch.
  10. Ch 1 and sc all around 9putting sc into the ch2 spaces) ss into first stitch.
  11. Repeat sc all around.
  12. Ch 3 and tr all around.  Ss into first stitch.
  13. Final scallop edge!  Ch 3, miss a stitch and sc into the next stitch all the way around.
Straps
  1. Press the dress flat so that the increases sit at each side.
  2. Attach the wool for the 1st strap, ch 1, 2sc across into the top of the bodice.
  3. Turn, ch 1, 2sc across.
  4. Repeat to the desired length (approx 11 rows) and fasten off leaving a long tail.
  5. Use the tail to stitch onto the back of the dress and repeat for the second strap.
 Add any extra trim to pretty it up further!