Showing posts with label Pinterest. Show all posts

Thursday, 26 June 2014

When Mummy takes requests!

 
So now I am building up a mini gallery of Pinterest related projects.  It's such a good way to find inspiration but also to find free patterns!  I came across these on a search for simple bands for Katie to wear on her first Communion and decided that they just had to be made straight away!  I've made crocheted hair bands before without much success as they do tend to slip off.  This clever trick of crocheting in a hair band really works to keep the tension.  I can also share the link for once! http://www.lanasdeana.blogspot.co.uk/2012/12/baby-head-bands-tutorial.html .

 The danger with whipping up one quick hairband means that I end up having to do the same for Hannah and cousin Myf who was over at the time!  Now I will just have to make one for Emily too.  The other danger with taking requests is that you can't completely control the colour choices (yes, it's neon pink again) and I end up with a frantic request for clips and crocheted food.  This is always the case when you crochet for others- the little ones start building up a list of wants!  Check out my recent post on how to make these lovely clips.

Sunday, 15 June 2014

Are you Pinterested?

 
Images from Pinterest

Do you Pinterest?
I am loving my little pin collection at the moment!  Let me share this mini snail tale with you...

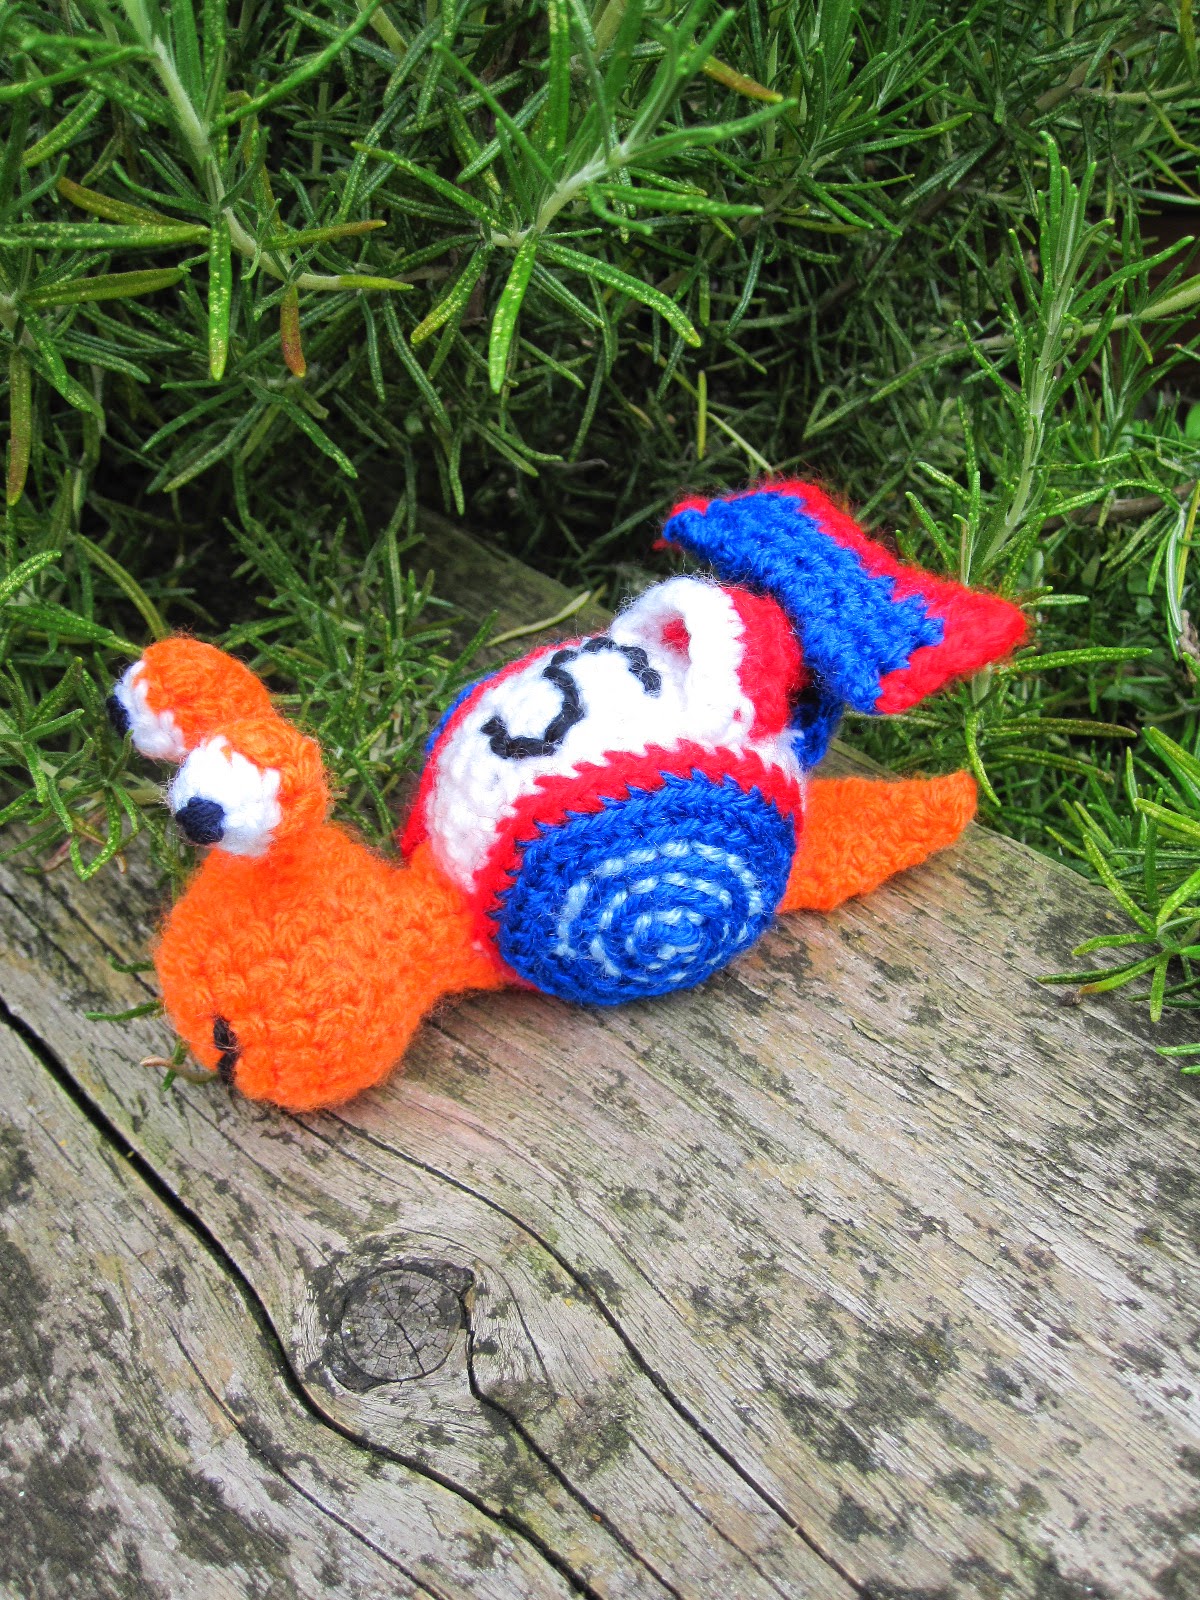
It's birthday time for a little nephew who loves Turbo.  The toys in the shops look pretty weak so I start thinking, hmm, I have that simple snail finger puppet pattern from "Crocheted Finger Puppets" that I've used a few times.  I wonder if I could change the colours and make a simple Turbo....

So, on goes Pinterest, and a quick search later, I pin the above collection onto a board.  Now I'm thinking that I could really just make up my own Turbo using these visuals to guide me.  Now, this is pretty much all me.  The circles for the shell and the starting shape came from the book but everything else was just off the hook!  I am so chuffed as this just shows how far I have come as a crocheter.  I came, I saw and I most definitely conquered this awesome snail!
 

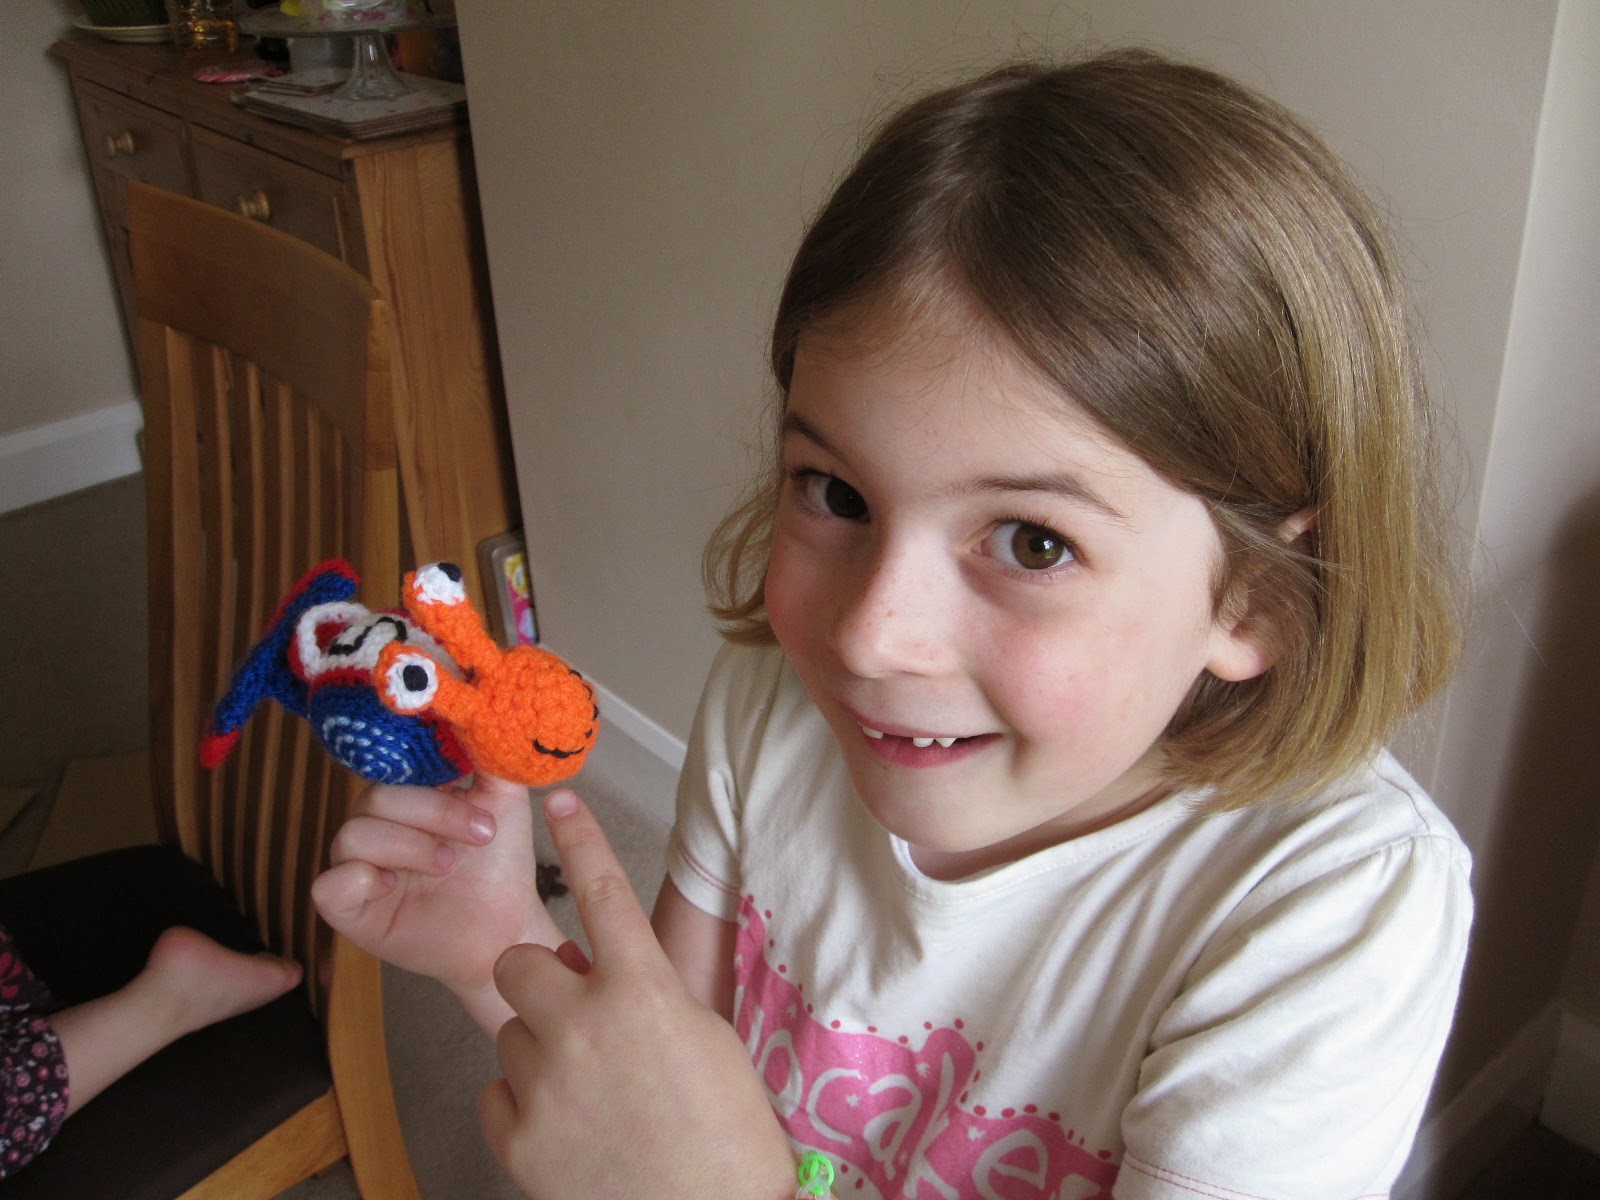
Admire his super spoiler.  Swoon over the jazzy light swirls.  Gasp at the speedy lines of his curvy shell.  We all love Turbo and have made lots of zoom- zoom noises as we race around the house.  He needs to burn a lot of energy before we wrap him ready for Sunday....

So, Pinterest, I love you and will upload my final picture to grace someone else's tiny board of inspiration.

Sunday, 20 April 2014

Birthday Bunny continued


I've been away so long!  It's been embarassing really but I have an excuse, honest... My computer just would not log on and so, whilst I could peek at my own favourite blogs, I couldn't get my own bits and bobs online.
This caused its own problems as I started to stop taking pictures of projects and not quite getting new ones on the go.  But work has produced so many white hairs this term that I have made myself take a break this holiday and craft.  I have really loved doing a few long awaited crafty bits and am determined to make amends for my poor blogging updates.
So, with hubby watching the racing, I am uploading this little gift from my nieces birthday gifts given on my Yarndale visit.  That's how long it has been (bad, bad, bad girl).  By the way- YARNDALE 2014- so excited by that!
This little gift was to go with last years birthday bunny (see earlier post for the free pattern) Along with a paint yourself jewelry box and some clips inspired by Attic 24 circles went the mini crochet cake and bunny party dress.  I didn't write a pattern for the cake as it was just a bit of fun that turned out rather nicely.  It was inspired by an image that I found on Pinterest however.
The dress did get written down so I hope someone uses this one:

You will need: Size 3 hook and wool scraps 
                        Darning needle
                        small ribbon rose
ss=Slip stitch
sc= single crochet
sc in= single crochet increase.
tr= triple

Dress
  1. Ch 23 and ss into loop.
  2. Sc all around and join with a ss.
  3. Ch 1 and sc all around three times (as a spiral)- 23 stitches.
  4. Sc in, 11sc, sc in, ss.
  5. Ch 1, sc all around and ss- 25 stitches.
  6. Ch 3 (counts as first tr), Tr all around and ss into first.
  7. (Ch 2, miss 1 stitch, sc in next) to make scallop edge. Repeat all around.
  8. SS into first ch2 space.  Ch 3 and 2 tr into first space.
  9. Ch 2 to next space- putting 3tr into each chain space.  SS final ch2 into first stitch.
  10. Ch 1 and sc all around 9putting sc into the ch2 spaces) ss into first stitch.
  11. Repeat sc all around.
  12. Ch 3 and tr all around.  Ss into first stitch.
  13. Final scallop edge!  Ch 3, miss a stitch and sc into the next stitch all the way around.
Straps
  1. Press the dress flat so that the increases sit at each side.
  2. Attach the wool for the 1st strap, ch 1, 2sc across into the top of the bodice.
  3. Turn, ch 1, 2sc across.
  4. Repeat to the desired length (approx 11 rows) and fasten off leaving a long tail.
  5. Use the tail to stitch onto the back of the dress and repeat for the second strap.
 Add any extra trim to pretty it up further!