Thursday, 26 June 2014

When Mummy takes requests!

 
So now I am building up a mini gallery of Pinterest related projects.  It's such a good way to find inspiration but also to find free patterns!  I came across these on a search for simple bands for Katie to wear on her first Communion and decided that they just had to be made straight away!  I've made crocheted hair bands before without much success as they do tend to slip off.  This clever trick of crocheting in a hair band really works to keep the tension.  I can also share the link for once! http://www.lanasdeana.blogspot.co.uk/2012/12/baby-head-bands-tutorial.html .

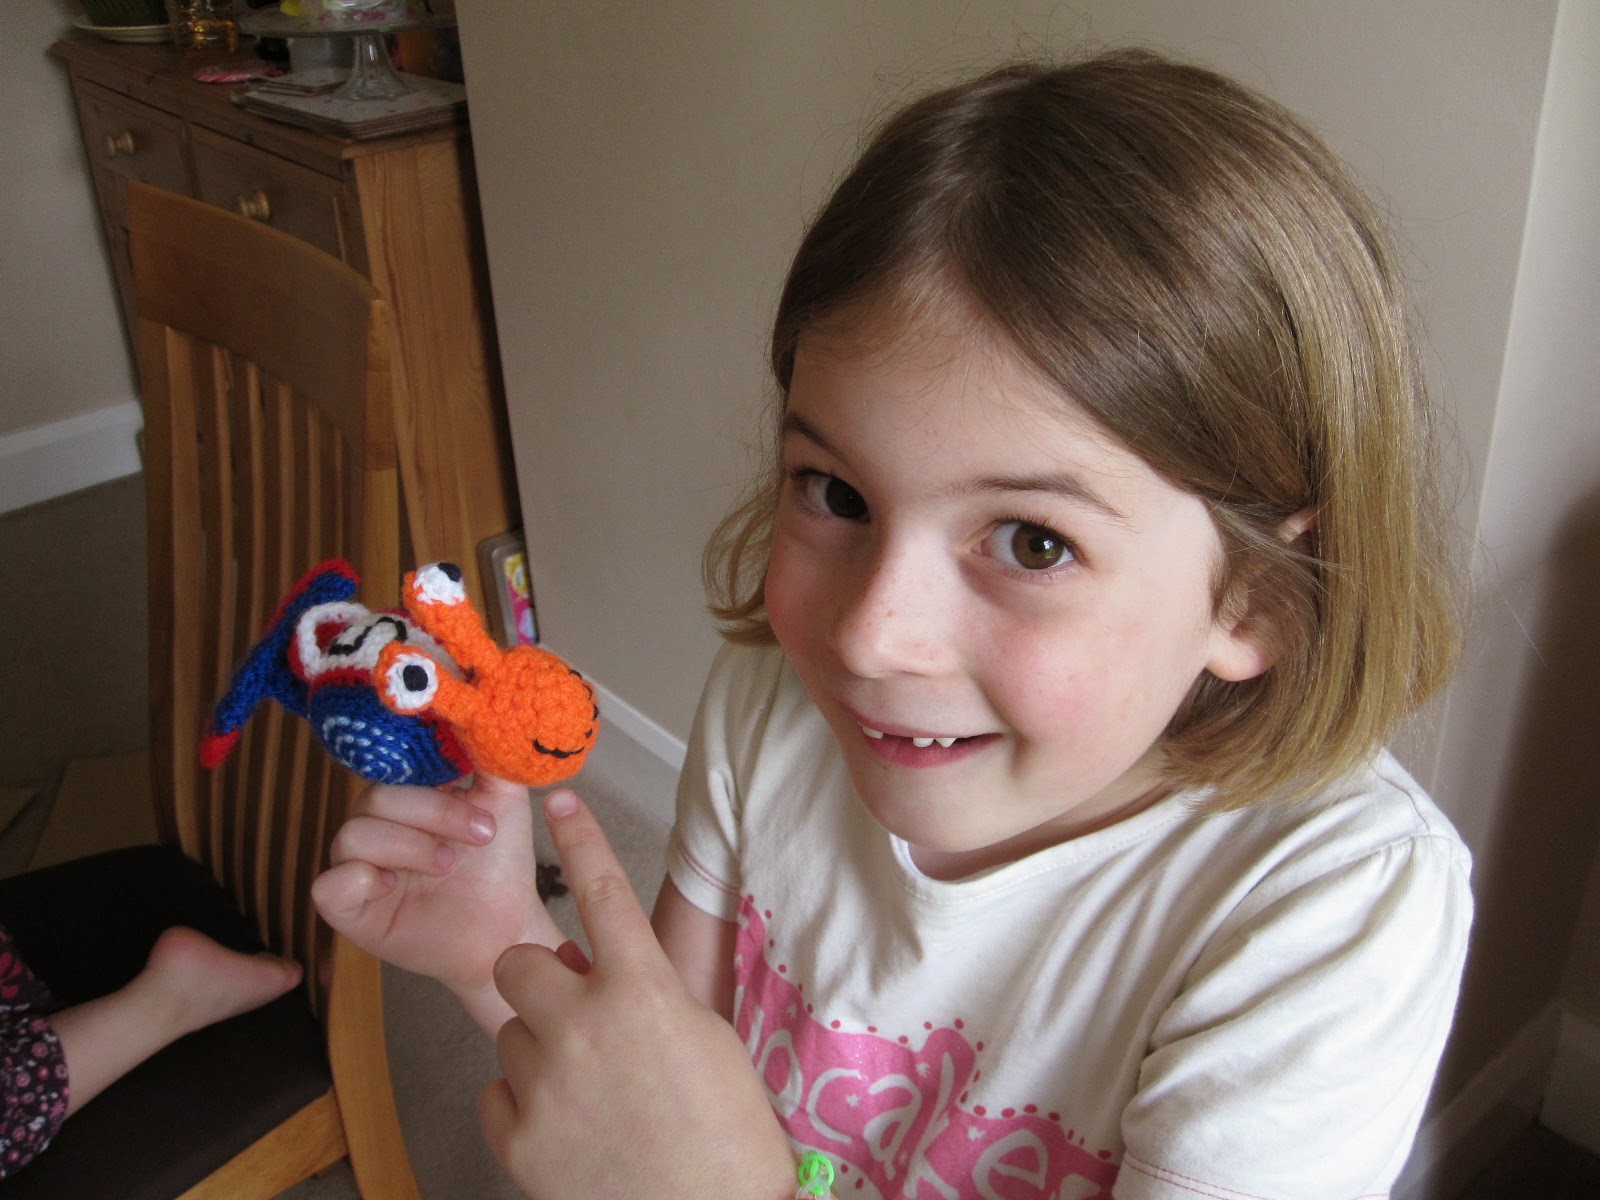
 The danger with whipping up one quick hairband means that I end up having to do the same for Hannah and cousin Myf who was over at the time!  Now I will just have to make one for Emily too.  The other danger with taking requests is that you can't completely control the colour choices (yes, it's neon pink again) and I end up with a frantic request for clips and crocheted food.  This is always the case when you crochet for others- the little ones start building up a list of wants!  Check out my recent post on how to make these lovely clips.

Sunday, 15 June 2014

Are you Pinterested?

 
Images from Pinterest

Do you Pinterest?
I am loving my little pin collection at the moment!  Let me share this mini snail tale with you...

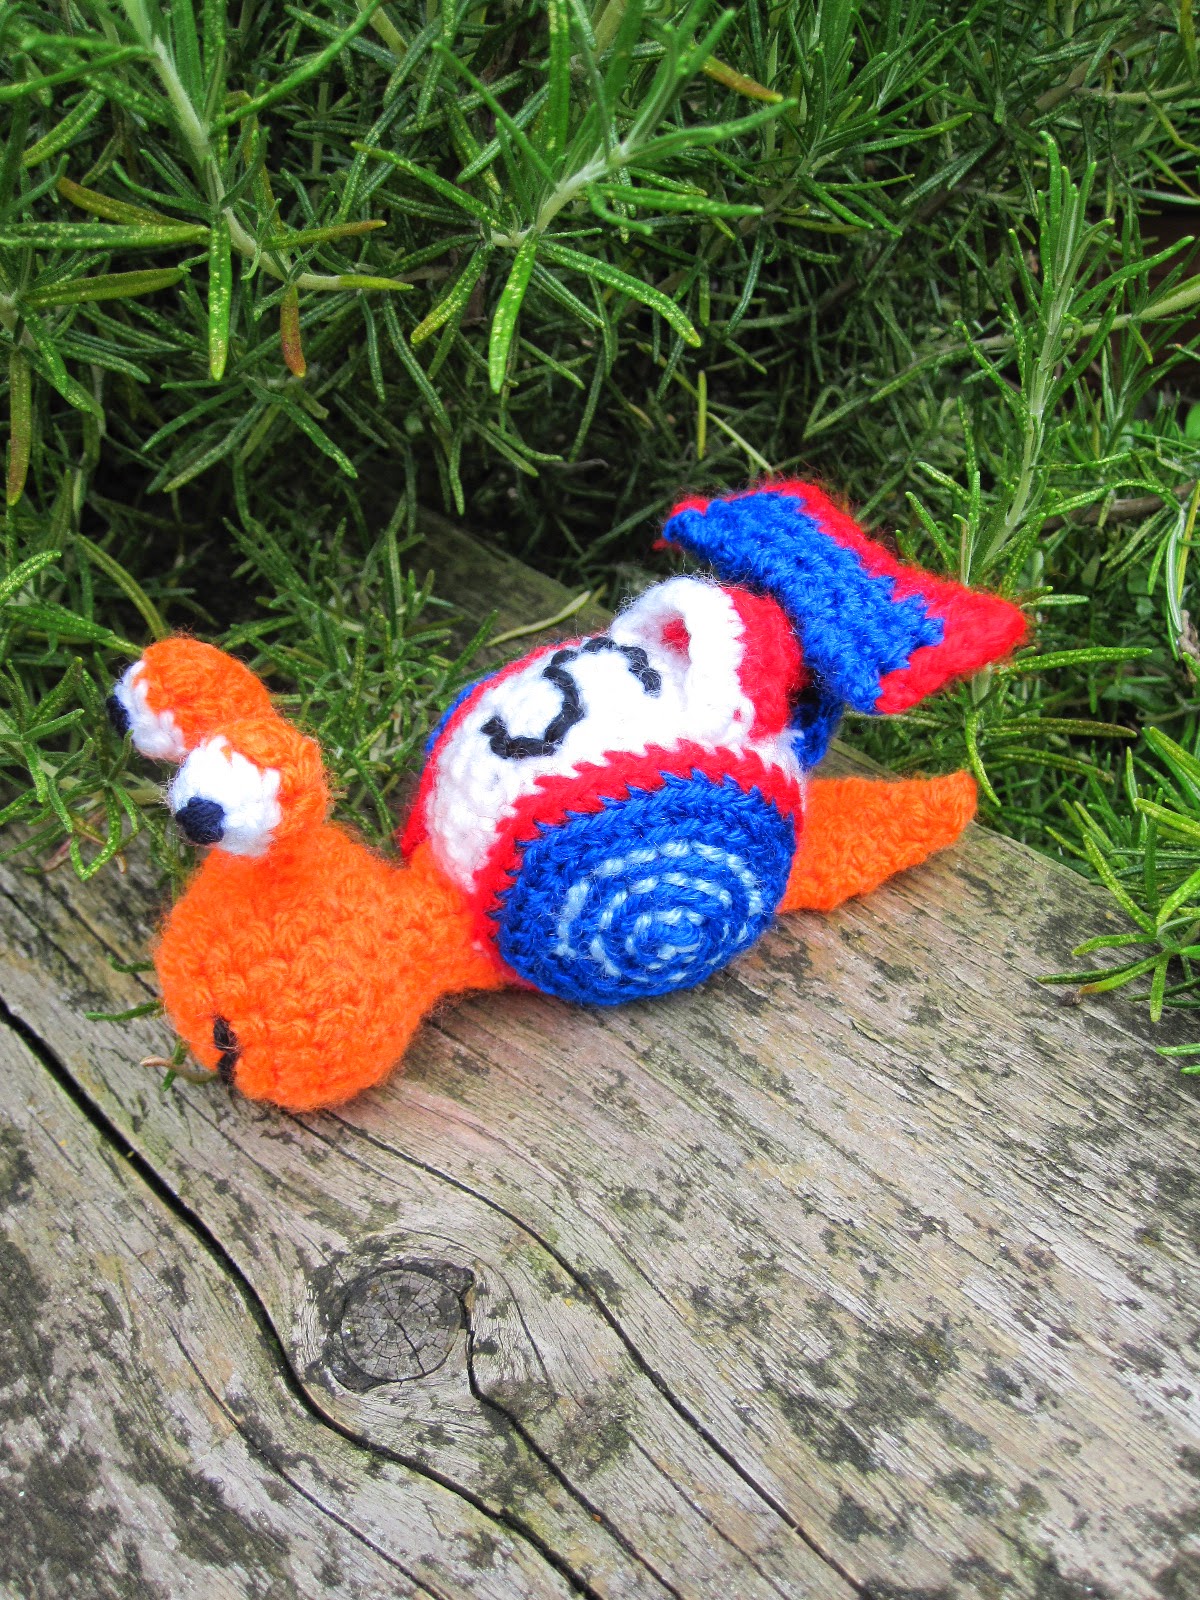
It's birthday time for a little nephew who loves Turbo.  The toys in the shops look pretty weak so I start thinking, hmm, I have that simple snail finger puppet pattern from "Crocheted Finger Puppets" that I've used a few times.  I wonder if I could change the colours and make a simple Turbo....

So, on goes Pinterest, and a quick search later, I pin the above collection onto a board.  Now I'm thinking that I could really just make up my own Turbo using these visuals to guide me.  Now, this is pretty much all me.  The circles for the shell and the starting shape came from the book but everything else was just off the hook!  I am so chuffed as this just shows how far I have come as a crocheter.  I came, I saw and I most definitely conquered this awesome snail!
 

Admire his super spoiler.  Swoon over the jazzy light swirls.  Gasp at the speedy lines of his curvy shell.  We all love Turbo and have made lots of zoom- zoom noises as we race around the house.  He needs to burn a lot of energy before we wrap him ready for Sunday....

So, Pinterest, I love you and will upload my final picture to grace someone else's tiny board of inspiration.

Wednesday, 11 June 2014

How to make easy-peasy felt bow clips.

Did you read my late post about the Christmas Bazaar?  Well, I was given some red and green felt and Christmas fabric to make into stockings which I promptly asked, "Just stockings...." and started to list off all the Christmas felt goodies I could make.  So, I got carried away making fully lined, patchwork stockings and then decided that a felt paper chain wouldn't take that long really.  After cutting out all the strips, I got a phone call from from one of the organisers saying- in a nutshell- "that's nice dear but we were only going to charge £1 or £2 each.  I took a deep breath, reigned myself in and sat down trying to figure out what I could do with all these strips.  And so the felt bow clip was born. 

You will need:
Felt
metal hair clips
needle and thread
glue gun or really strong adhesive 

What to do:

1) Take standard felt rectangle and cut into strips about 1 inch wide.
2) Cut off about 1 inch from the end and save piece (this will wrap around the bow).

3) Bring the ends together and slightly overlap.
4) Hold in place and make a stitch through the three layers at one corner.

5) Do a couple of running stitches to the other side.

6) Pull the thread to gather, pinching with your fingers to hold the folds in place.


7) Run a few stitches through the centre folds to how felt in place.

 It's looking good so far!
 8) Take your tiny felt rectangle and cut to the desired width.  (I find that if this is too wide, it can be tricky to glue into place).
 
 9) Make sure your glue gun is nice and hot!  Place a small blob over the messy stitch, press on the end of the band and hold firmly as you tightly wrap the band around the bow.
 10) Another blob of glue to hold down the end and press for a few seconds until set.
 11) Finally, add a generous blob to a shiny clip and hold the bow in place until the glue sets- this really only takes a few seconds.

As I was making these for a Bazaar, I did all the prep and stitching first and then glue gunned the whole darn lot.  These seriously didn't take long to whip up and they ALL went within minutes!


Thursday, 5 June 2014

"The Snow Maiden"

Here is my January project! Gosh, I love holiday blog catch up time.  My sister's sister-in-law (my sister-sister-in-law) was due in January and I was determined to make her a little bundle after she so kindly made me gorgeous bibs for my first.  As she is not your average lady, I thought that she would love a non-pink gift for her little girl.  I adapted a simple cardi from Nikki Trench's book "Cute and Easy Crocheted Baby Clothes" to match this fabulous  free bonnet I found  online (I just can't remember where from...).  The Nordic themed colours were because I had just finished a book called "The Snow Maiden" which describes the old lady's winter efforts to make a coat for the snow maiden child who lives in the woods.  The handmade coat is described as being trimmed with white fur and embroidered  with snow flakes and that just sounded gorgeous.  I did have fun finding and buying tiny star buttons and playing with the borders to balance both items.  Looking at them now, they are so very "Frozen"!

The crochet bibs and balls were from the same book using my beloved dk cotton.  The bibs were part joke as the bibs she made for me were used until faded and worn and then folded away in my memory box.  The bibs made for my sister's first born were always laughed about as my sister couldn't bear to use the lovely things.  I therefore couldn't resist making impractical crochet bibs (they are washable...honest).  Do you think she will use them? I just don't know!  The balls  are so squishy and perfect for gummy chews and squeezy fingers.  I popped a few bells inside the yellow ball using a clean kinder egg case firmly glued shut which I then crocheted inside the stuffed ball.  One shakey, squishy, squeezy bit of fun!  I must say that I'm so relieved to find these lost pictures.  My husband thinks I am mad-naturally- but when you give away most of your crafts, having a picture keeps the memories, the textures and the ideas ready for another day.
Congratulations Cara and Nick and I hope your baby managed to wear these at least once before growing out of them!