Monday, 4 August 2014

DIY Birthday Party

It's always a bit of a trial having a birthday right at the end of term as the end of year sports days, fetes, reports and crazy clearing classrooms take up every spare minute.  So, this year, Katie and I planned a DIY party which only took a couple of hours in the morning (and a few amazon orders before) to organise.  I think it cost about £30 which included the sundae glasses and spoons (they were on special at Sainsburys- bonus!)
The other great thing was that the party pretty much took place entirely at the dining room table meaning minimal mess, fuss and fully engaged little girls!

Step 1: Party bags 
These plain paper bags were only a couple of quid off amazon last year.  Lots of felt tips and stickers from the craft drawer were pulled out as the girls personalised them with colourful designs and names.  This took a lovely amount of time and when the girls were done, they were surprised by a bowl full of goodies to share out equally.  Lots of team helping here to make sure each friend received one of each little item.  These bits only cost £6 as they were cheap selection packs of 8 or 6 from Morrisons.  They included mini pen, one of those pencils with the changeable nibs, note pad, bubbles, water pistol and stickers.  The big surprise was the pack of Loom bands- the big craze- for each bag.  These were from amazon in bulk and cost only £2 for 6 good sized packs.


Step 2: Pizza making
I bought some pre-made pizza bases for about £2 and used the usual cupboard ingredients to prepare pots of toppings.  Little H and I had fun working together to chop and fill the bowls in the morning and stash in the fridge ready.  We had ham, cheese, olives, peppers and pineapple chunks and a small pack of pepperoni slices.  We all cleared the table for the girls to start the next task whilst I was prepping the tea and tidying the kitchen.

Step 3: Loom Bands!
These are the current craze at school and I love how children teach each other these skills, passing them down and down each year so that the playground games continue for generations!  With that in mind, the girls took out their bands and spent half an hour teaching each other new tricks and beginners skills. I was so proud to see all the girls helped little H join in and have a go at the "Big Girl" game.  Perfect calm as I tidied and got the pizzas cooked and on the plates.

Step 4: Birthday tea.
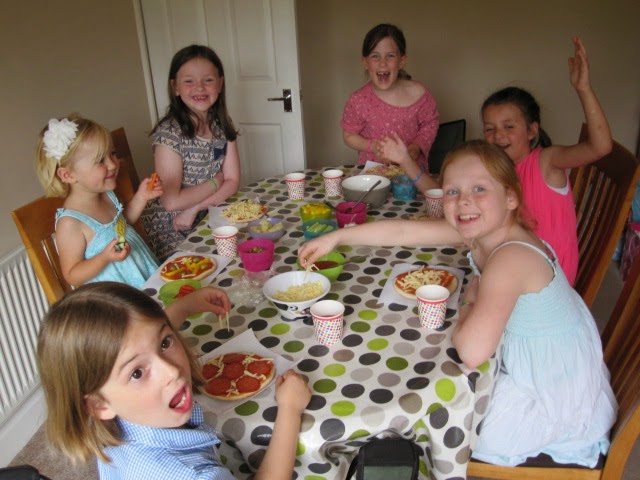
So now the girls got to eat their fantastic pizzas accompanied with cucumber and carrot sticks.  I've found over the years that the food children make themselves always gets eaten without fuss.  Again, each plate was cleared with exclamations of "Best pizza ever!" and " This is SOOOOO GOOOOD!"  I now had little girls telling me how relaxed I must be as they were doing all the work.  Little girls love to feel industrious and the idea that they were "working" just sold the party even more!  Full of pizzas, the girls gasped as out came the big treat.  Ice-cream, strawberries, blueberries and raspberries all chopped up with a tub of icecream and Mummy in charge of the squirty cream.  The girls thought they were having such a guilty pleasure whilst I smiled at all the healthy toppings, sticks and fresh fruit!  Each sundae was dressed with a dramatic swirl of cream- Yum!

Step 5: The presents
I'm always surprised when you go to a party and the present is received, placed on a table and not touched again until everyone is gone.  I want to see people's faces when they open their gift- especially if I have spent ages making it!  So, on party day, I always have time for the presents.  This was so cute with each friend giving their gift, seeing it opened and gasped about and having a great big hug of thanks from Katie.  Yes, there were many photos of this time, but I'll just share the final friend shot. 
Katie was then spontaneously birthday carried outside for the final treat.  Daddy had arrived home in time for...
Step 6: Toasted Marshmallows!
Noe of the girls had ever had toasted marshmallows before- can you believe it?  they are now complete addicts and adored the slight danger of toasting these fluffy treats until they almost slid off into the hot coals.  Such treats took us until parents came to drag the girls back home.  The happiest little girl was the last one to leave as she got extra toasting time!  We never even got to the birthday cake!

So, best party ever!  Minimum fuss, time, clear up and noise.  Just lots of happy faces and cuddles all round.  Try a little DIY magic yourself one day- it's so worth it!

Thursday, 31 July 2014

Lovely little luxury

 I have often wondered why people bother to crochet facecloths.  Yes, they look lovely in the shops daintily tied around a handmade soap using a lavender stalk or whatnot, but why spend that much on natural cotton to crochet a square?  But birthdays were coming and I had some cotton so I thought I would have a little play. 
Oh, now I get it!  Stitching with cotton is such a pleasant feeling and just using one colour really shows off the definition of each stitch.  These worked up quickly whilst sitting at one of Hannah's little friend's birthday parties.  I must admit that I didn't dare use one for ages as I was worried that the cotton would stretch/stain/ fuzz up with use.  But they really are wonderful to use, wash beautifully and stay in shape.  Both my girls now have one as well with requests for new colours soon!  So here is my very simple pattern- there are so many out, I know- I hope my sisters also use and love theirs.

You will need: Natural Cotton (Rowan)
                     Size 4mm hook
                     Darning needle

Abbreviations: DC- Double crochet
                     Ch- Chain
  1. Ch 34.  DC in 3rd chain from hook, DC in each stitch to the end.  Turn.
  2. Ch 1, DC in first stitch, (Ch 1, skip 1, DC) repeat to the end of the row with a DC in last stitch. Turn.
  3. (Ch 1skip 1, DC in next stitch) repeat to the end of the row with a DC in last stitch. Turn.
  4. Repeat row 3 until you have a square. Turn.
  5. Ch 1, DC in each stitch for the final row.
  6. Add a DC in the corner and DC all around the edge, putting 2DC in each corner.  This will stop the fabric from stretching.
  7. Weave in ends.

Sunday, 27 July 2014

Taking a (mini) break


I have been taking more time these last few months to relax and have time off from all the crazy work and it has really helped me hold together.  I wanted to share some snap shots on a mini break from last month as it was during term time (shock) and I managed to get enough done to walk a way for a bit!  Holiday time has started now with a flurry of meals, days out and family visits scheduled in.  I don't think we have a free couple of days to chill out in...Does anyone one else find that the holidays become overbooked before they begin.  5 weeks just isn't enough time!
The teeny tiny shepherd's hut (Daddy took the girls after school and I went down the following day)

 Holding hands with my eldest along the estuary.


 I did not take photos of each time we stopped to stroke a passing dog as we got into double figures...
  Another hand hold moment with my blue-eyed baby.

 I love taking photos of my husband taking photos!

 Coffee shop and crochet heaven.  The start of a new summer wrap for when the evenings have a little chill.  It was started and finished that weekend.  I will write up the pattern soon.

 Ok, this just made me laugh so I had to add these shots.  One mean Mummy= one drink + two straws!  I love the turn taking as they work out the best way to drink this.  I love the "kiss" shot especially!


 And now to collapse from the heat on the tiny bed.  The girls have yanked Daddy to the play park again.  In one day we had managed to visit the park about 6 times and, boy, was it a scorcher.  I am now chilling after a tiny snooze with my crochet on my lap *sigh*
 We had fish and chips in the evening and played boules on the bumpy soil drinking pear cider.  I hope you all take some time for yourselves in the over-scheduled holidays this year! x

Thursday, 26 June 2014

When Mummy takes requests!

 
So now I am building up a mini gallery of Pinterest related projects.  It's such a good way to find inspiration but also to find free patterns!  I came across these on a search for simple bands for Katie to wear on her first Communion and decided that they just had to be made straight away!  I've made crocheted hair bands before without much success as they do tend to slip off.  This clever trick of crocheting in a hair band really works to keep the tension.  I can also share the link for once! http://www.lanasdeana.blogspot.co.uk/2012/12/baby-head-bands-tutorial.html .

 The danger with whipping up one quick hairband means that I end up having to do the same for Hannah and cousin Myf who was over at the time!  Now I will just have to make one for Emily too.  The other danger with taking requests is that you can't completely control the colour choices (yes, it's neon pink again) and I end up with a frantic request for clips and crocheted food.  This is always the case when you crochet for others- the little ones start building up a list of wants!  Check out my recent post on how to make these lovely clips.

Sunday, 15 June 2014

Are you Pinterested?

 
Images from Pinterest

Do you Pinterest?
I am loving my little pin collection at the moment!  Let me share this mini snail tale with you...
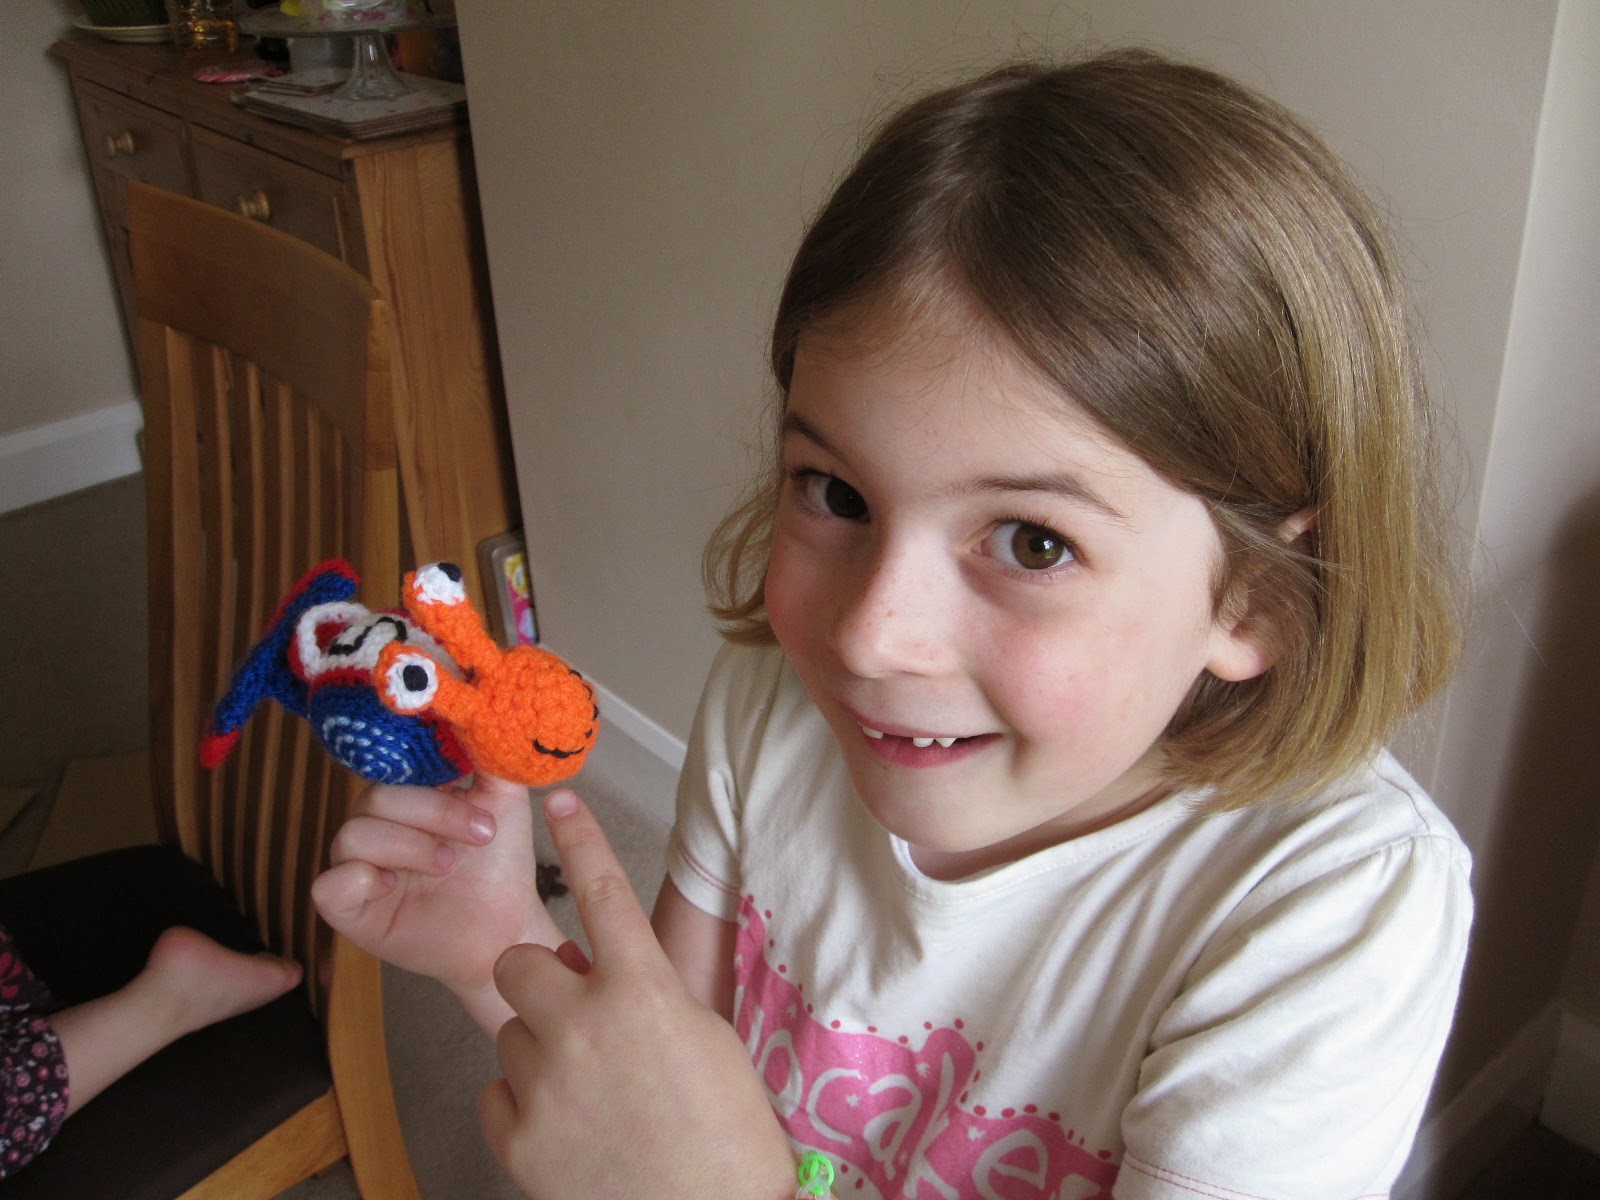
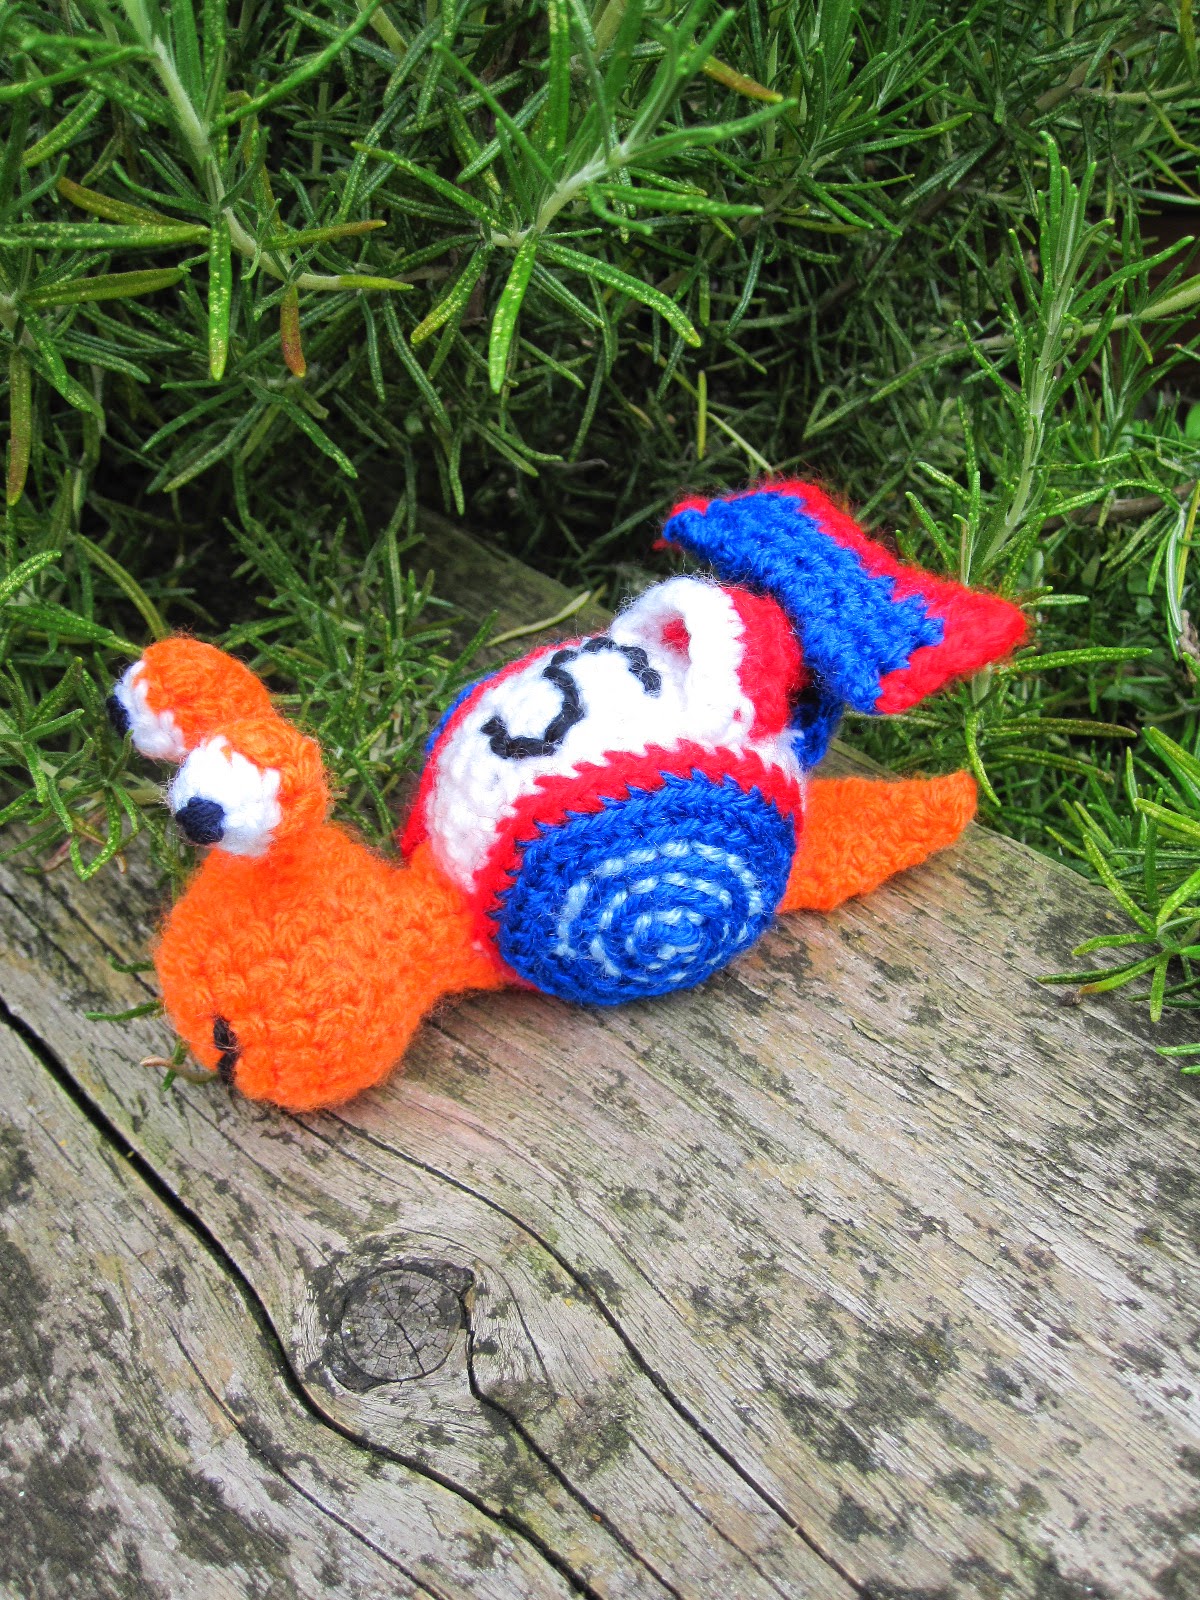
It's birthday time for a little nephew who loves Turbo.  The toys in the shops look pretty weak so I start thinking, hmm, I have that simple snail finger puppet pattern from "Crocheted Finger Puppets" that I've used a few times.  I wonder if I could change the colours and make a simple Turbo....

So, on goes Pinterest, and a quick search later, I pin the above collection onto a board.  Now I'm thinking that I could really just make up my own Turbo using these visuals to guide me.  Now, this is pretty much all me.  The circles for the shell and the starting shape came from the book but everything else was just off the hook!  I am so chuffed as this just shows how far I have come as a crocheter.  I came, I saw and I most definitely conquered this awesome snail!
 

Admire his super spoiler.  Swoon over the jazzy light swirls.  Gasp at the speedy lines of his curvy shell.  We all love Turbo and have made lots of zoom- zoom noises as we race around the house.  He needs to burn a lot of energy before we wrap him ready for Sunday....

So, Pinterest, I love you and will upload my final picture to grace someone else's tiny board of inspiration.